
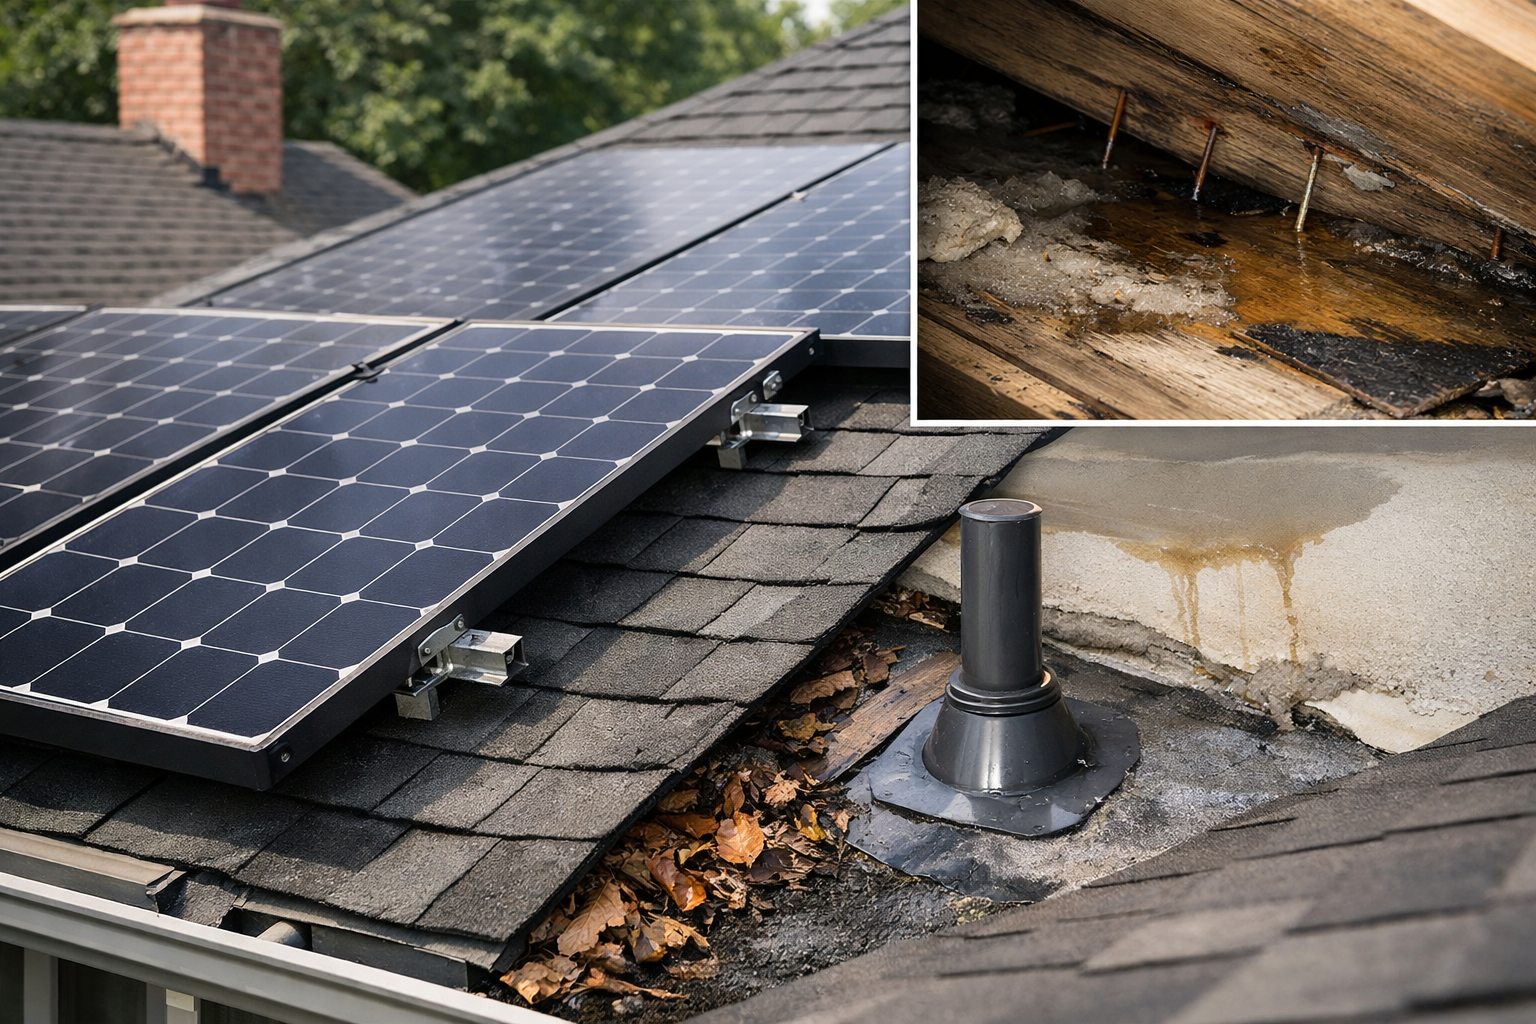
The first clue something’s wrong usually isn’t a panel issue—it’s that damp “wet drywall” smell in a closet a day or two after a hard rain. Solar can be installed perfectly and still expose a roof detail that was already on the edge, and the water won’t always show up anywhere near the panels.
The roof doesn’t just “hold panels” — it becomes part of the system
Once solar goes on, your roof becomes a platform with penetrations, metal hardware, and mount points that move a little with heat, cold, and wind. Most installs are solid, but one small miss—like a lag that didn’t bite into framing or flashing that isn’t seated flat—can turn into a slow leak that takes time to show up indoors.
Water also travels. It can enter at one mount and drip somewhere else entirely, which is why a stain “away from the panels” doesn’t rule anything out.
Panels shade shingles too. That’s not automatically bad, but it can mean the shingles under the array age differently than the shingles around it.
If your roof isn’t ready, solar makes replacement harder (and more expensive)
The easiest time to handle roof work is before panels go on. A practical rule of thumb: if you can’t honestly see your roof lasting another 10 years, think hard about replacing it first.
Why? Because a reroof with solar usually means a remove-and-reset, new flashing work at mounts, and more coordination than you expect. Even when it’s straightforward, you’re paying for extra steps that didn’t have to happen.
Nobody likes hearing this, but the cheapest reroof is usually the one you do before you trap the roof under an array.
If you’re trying to judge roof life quickly, don’t rely on a driveway glance. After a steady rain, give yourself 10 minutes in the attic within the next 24–48 hours. Look for dark streaks on the underside of the deck, damp-looking wood near penetrations, or nail tips that look freshly rusted.
If your roof is already 12–15 years old, don’t just ask “can it last?”—ask what happens if it doesn’t. Also ask, up front, who is responsible for water-tightness around the mounts after everything is back in place. If you want a plain-language overview of how roof repair or replacement is typically handled when panels are in the mix, GRM Roofing NJ walks through the common options. Read it like a checklist. Then have your installer and roofer confirm—on paper—what they’ll do if a leak shows up later.
The details that matter most are boring: mounts, flashing, and layout
Most solar-related roof problems are water-management problems.
Mounts should be anchored into solid structure, not just sheathing. If a mount loosens even slightly, you get movement, and movement is what defeats seals.
Flashing matters more than sealant. Sealants dry out in sun and temperature swings; flashing is physical water-shedding that keeps working as materials expand and contract. I’ve seen water follow a rafter bay and show up 10–15 feet away from the actual entry point.
Layout affects maintenance. If panels are packed tight against an edge or crowded around vents, it’s harder to inspect the roof features that usually fail first. Even a modest clearance buffer—roughly 6–12 inches around plumbing vents and flashings—makes future checks and repairs far less frustrating.
Ask for photos during the install.
A few close-ups of mounts and flashing before panels go down can save a lot of guessing later.
After solar is installed, your maintenance routine should change a little
You don’t need to obsess over your roof, but you should switch to a simple cadence. Two checks a year is enough for most homes: one in early spring and one in late fall. Add a quick extra look after any storm with strong gusts, hail, or heavy branch debris.
After big rain, do an indoor sweep first. Check top-floor ceilings, closet corners, and around bathroom fans and skylights. Watch for bubbling paint, a soft drywall spot, or a faint ring that looks like it was traced lightly in pencil.
After wind, stand back and scan the roofline with your phone zoom. You’re not judging the solar hardware from the yard; you’re looking for roof clues around the array: lifted shingle edges at the perimeter, bent flashing, or debris piled in valleys. If you keep seeing leaves trapped behind the lower edge of the panels, that “leaf dam” holds moisture longer after rain and can speed up wear right where you can’t easily see it.
If you’re tempted to climb up, make safety the priority—wet surfaces and gusty conditions are a bad combo. This federal ladder safety guidance is boring, but it’s worth skimming before you decide a “quick look” is no big deal. Ladder safety guidance
Wind-driven rain is another sneaky one, because it pushes water sideways into seams that normal rain rarely tests. This wind and water infiltration guidance is a solid explanation of how water finds paths you wouldn’t expect (which is the same “why is the leak over there?” problem people run into after solar). Wind and water infiltration guidance
And if you ever need roof work under or near the array, treat it like a coordination job, not a “quick patch.” A good plan focuses on preserving flashing integrity and limiting movement at penetrations, not just adding more sealant and hoping for the best.
Takeaway
Solar is great, but it changes how your roof behaves and how problems show up. Time the roof work smartly, insist on real water-shedding details, and keep a simple inspection rhythm so small issues don’t turn into expensive surprises.